Complete Guide to Deploying NodeJS Applications to AWS Lambda via S3 - Optimize Your Web Services

Introduction
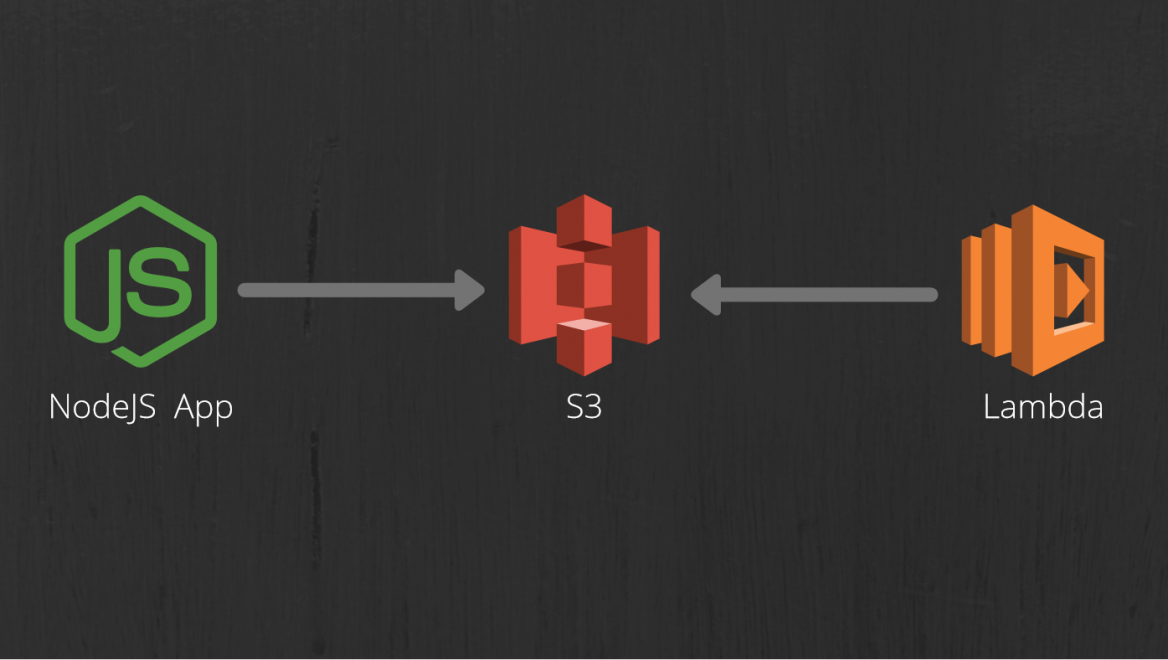
Serverless architecture has revolutionized the way web applications are developed and deployed. AWS Lambda, a serverless computing service, allows you to run your code without the need to provision or manage servers. In this blog post, we will walk you through a step-by-step guide on deploying Node.js applications to AWS Lambda using the Amazon S3 bucket for optimized web services. By leveraging the power of AWS Lambda and S3, you can build highly scalable and cost-effective web applications.
Prerequisites
To follow this guide successfully, ensure you have the following prerequisites:
- An AWS account with appropriate permissions to create and manage resources.
- Familiarity with AWS services, particularly AWS Lambda and S3.
- Basic knowledge of Node.js and serverless architecture concepts.
Step 1: Prepare your Node.js Application
- Create a new Node.js application or use an existing one that you want to deploy to AWS Lambda.
- Ensure your application is modular and follows best practices for serverless architecture.
- Make any necessary modifications to adapt your application to a serverless environment.
- Create a package.json file with your application dependencies.
Step 2: Set Up an S3 Bucket
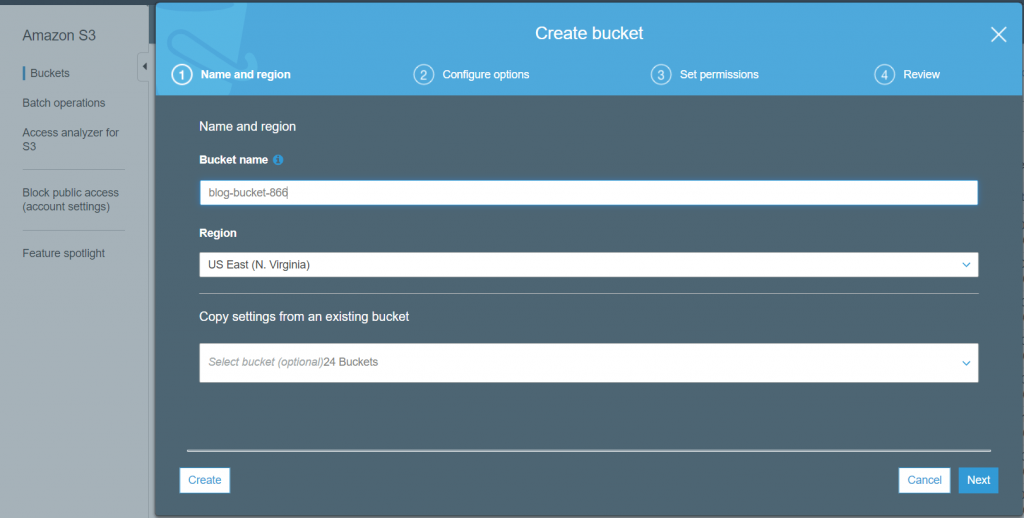
- Log in to the AWS Management Console and navigate to the S3 service.
- Create a new bucket by following the instructions, providing a unique bucket name and selecting an appropriate region.

- Enable static website hosting for the bucket, which will allow you to serve your application files.
Step 3: Build and Package your Application
- In your local development environment, navigate to your Node.js application's root directory.
- Use a build tool like webpack or npm scripts to bundle and transpile your application code.
- Create a .zip file containing your application code and any necessary dependencies, excluding unnecessary files and folders.
- Upload the .zip file to the S3 bucket you created in Step 2.
Step 4: Create an AWS Lambda Function
- Navigate to the AWS Lambda service in the AWS Management Console.
- Click on "Create function" and choose the "Author from scratch" option.

- Provide a name and select the appropriate runtime (Node.js) for your Lambda function.
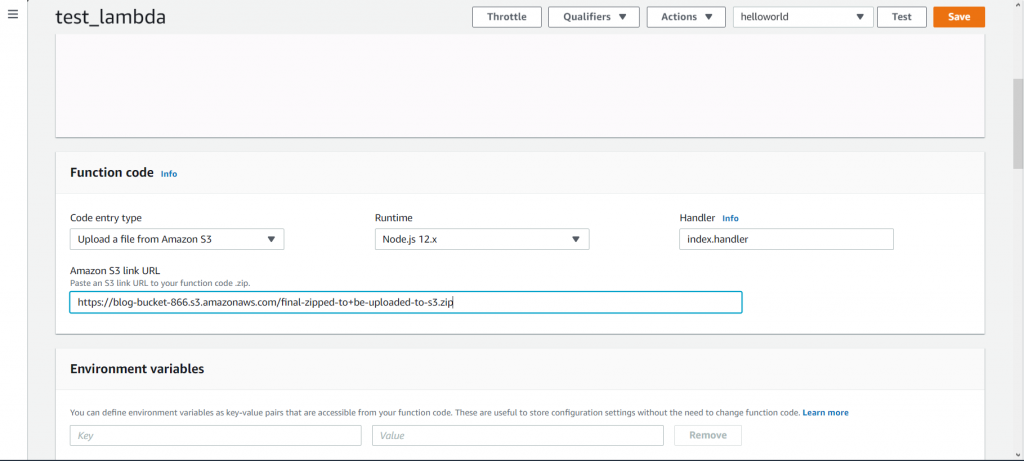
- Under "Code source," choose "Upload from" and select the S3 option. Enter the S3 bucket name and provide the .zip file path within the bucket. Set the appropriate handler function for your application.

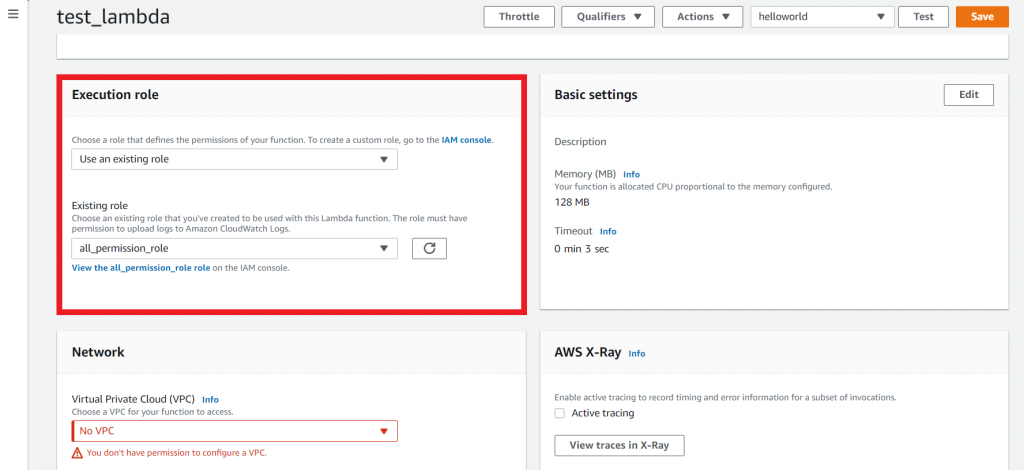
- Configure the desired memory, timeout, and other runtime settings based on your application's requirements.

- Save your Lambda function.
Step 5: Set Up API Gateway
- Navigate to the API Gateway service in the AWS Management Console.
- Create a new REST API by following the provided instructions.
- Set up a resource and method to handle HTTP requests.
- Configure the integration to use your Lambda function as the backend.
- Deploy the API to make it accessible via a public URL.
Step 6: Test and Monitor your Application
- Use tools like Postman or cURL to send requests to your API Gateway endpoint.
- Monitor your Lambda function's performance and logs in the AWS Lambda console.
- Set up CloudWatch alarms and metrics to track the health and performance of your application.
Conclusion
Deploying Node.js applications to AWS Lambda via S3 offers an efficient and scalable approach to building web services. By following the steps outlined in this guide, you can leverage the power of serverless architecture, AWS Lambda, and S3 to optimize your web applications. From modular code organization to seamless deployment and monitoring, AWS provides a comprehensive platform for developing and deploying server
